Zoom conferencing platform is now available to all DKU Faculty, Students, and Staff!
- Introduction
- Get Help
- Getting Started with Zoom
- Converting Zoom account to a Duke Zoom account
- Special Tips for Instructors
- FAQ
Introduction
This tool will offer great support in remote teaching/learning, conferencing, and collaboration. Now Zoom is becoming the preferred and supported video conferencing tool, you can get support from Duke/DKU support team.
This page will guide you through the basics of using Zoom.
Get Help
If you need further help that this page couldn’t offer you, you may:
Go to https://duke.zoom.com and then sign in with your Duke NetID & password. Click the help button in the lower-right of the screen to start a live chat with Zoom Support (Open 24×7).
Or, send an email to service-desk@dukekunshan.edu.cn.
Getting Started with Zoom
This part is meant to help you schedule your first basic call from the Zoom web browser.
We have prepared 4 important topics for you. You can choose and go through the topics that interest you.
1. Get Ready
1) Prepare your device(s)
Make sure your device has a working camera, and that you have a headset or USB echo-cancelling speakerphone. With Zoom you may also choose to call in by phone.
2) Initial Login
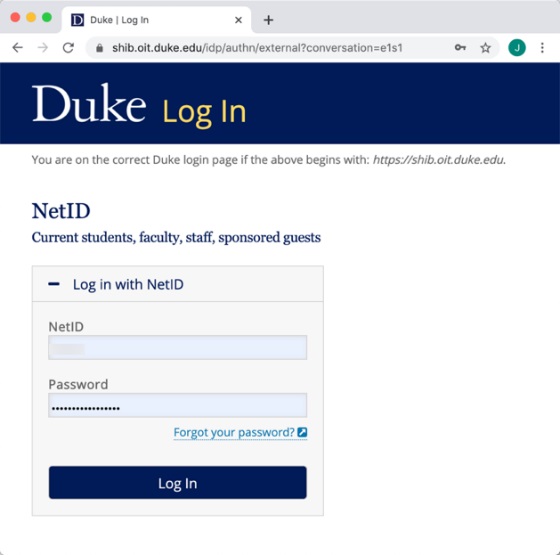
Navigate to https://duke.zoom.com and select the Sign In button. You will then be asked to authenticate with your NetID and Password.

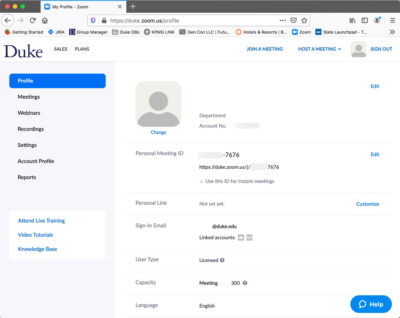
3) My Profile
Once you log into Zoom you will be directed to your Profile page. This will give you important information like your Account Number and Personal Meeting ID.
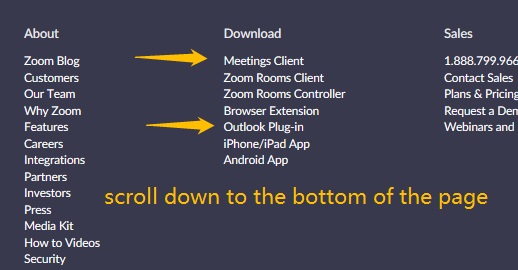
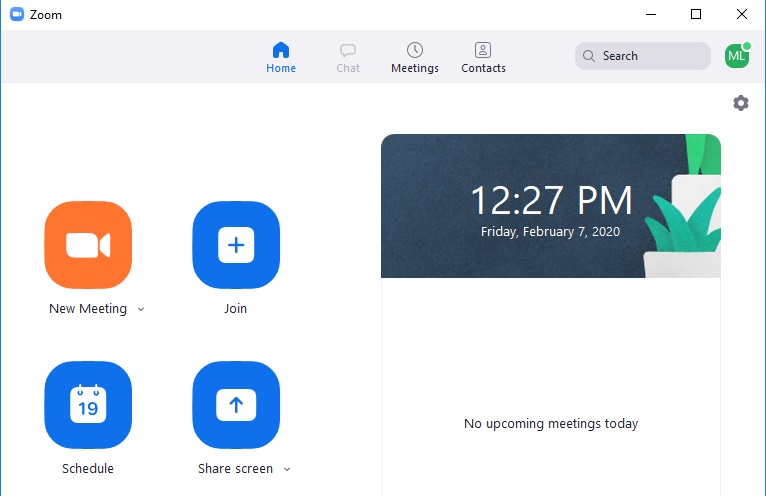
4) Install the Zoom desktop client
Go to https://duke.zoom.com login with your NetID & NetID password, and download and install the zoom desktop client and Outlook plugin.
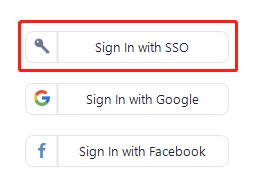
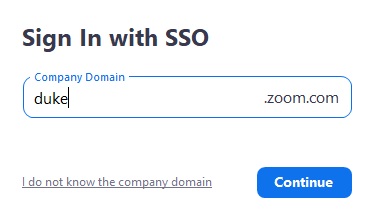
To log in using the client, select ‘Sign in with SSO’. It will later jump to the Duke Login page. After you finish SSO, Zoom client will get logged in.
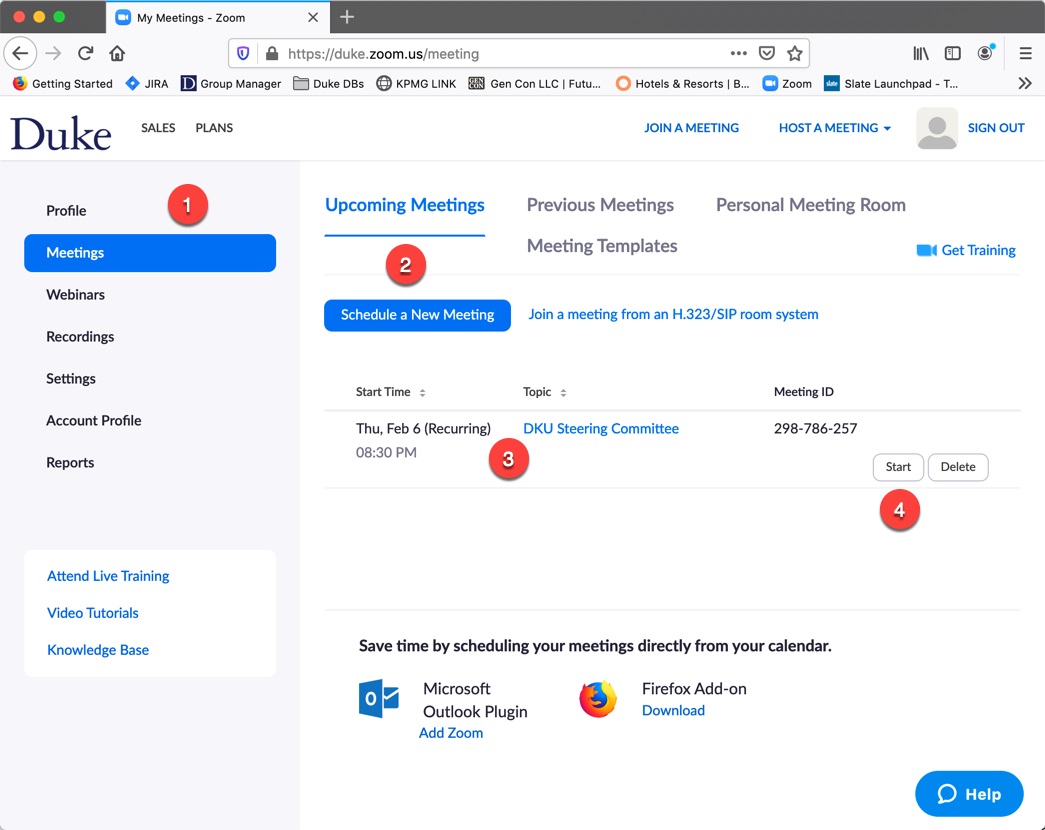
2. Meetings Page
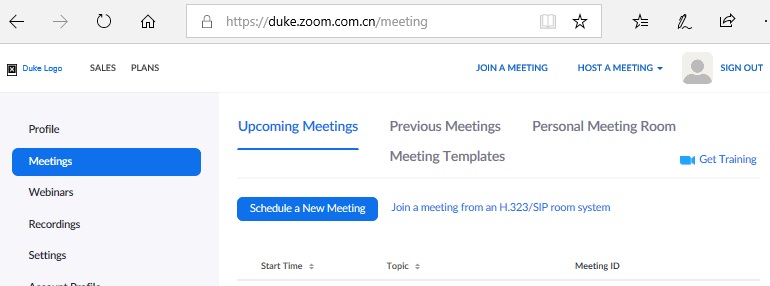
The Meetings page allows you to schedule new meetings and see meetings you have already scheduled.
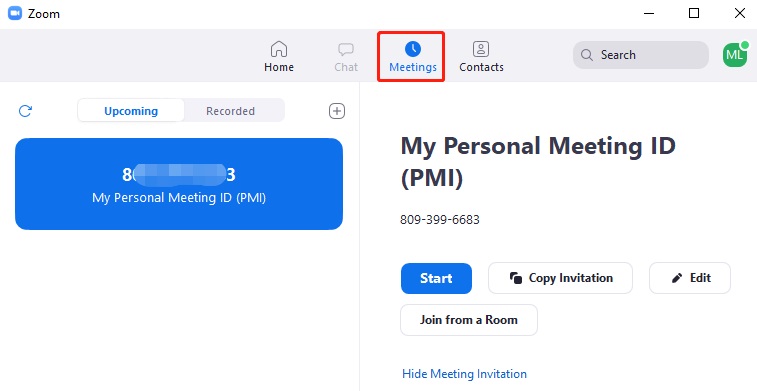
1) Select Meetings in the left-hand menu
Same function in Zoom client.
2) Select the Schedule New Meeting button to create a meeting
3) Any previously scheduled meetings appear here
4) Start a meeting by selecting the Start button
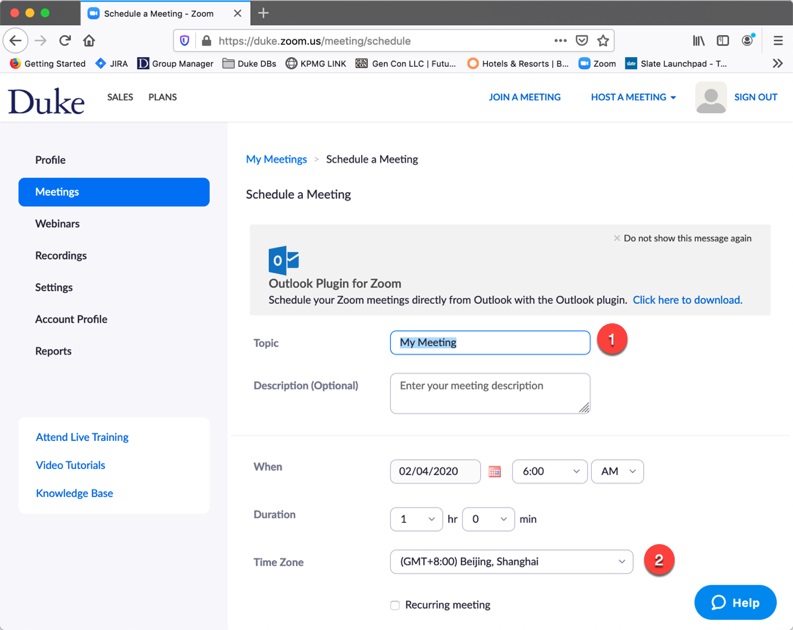
3. Scheduling a New Meeting
After you select Schedule a Meeting, you are presented with the following page. While most items are self-explanatory, there are a few items to highlight:
- Enter the name of your Meeting – this will appear on your eventual invite.
- Time Zone – Zoom should automatically schedule meetings based on the time zone set in your preferences. It is good practice to double check the time zone while scheduling meetings to ensure it is correct.
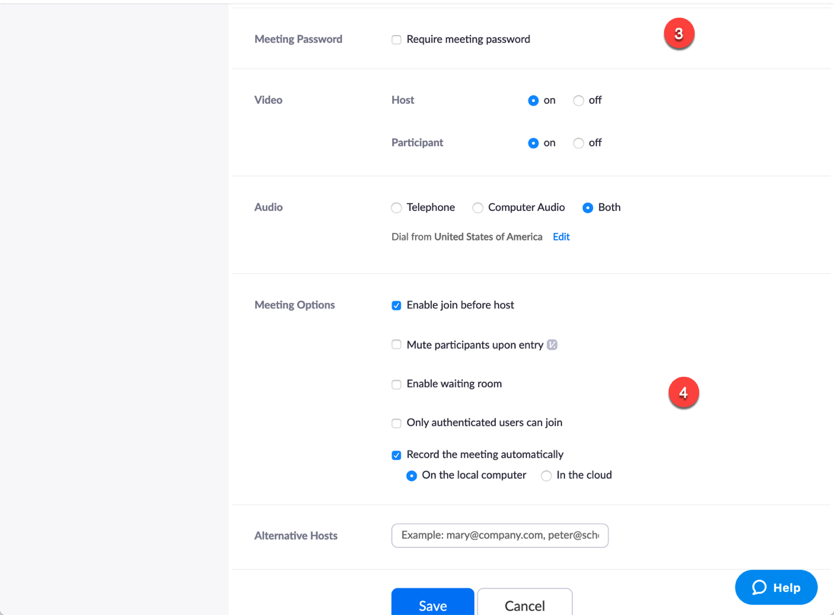
- Meeting Passcode – if you use a password, everyone who joins must use that password, which adds an extra step in joining.
- Options –“Allow participants to join anytime” is useful when you have several participants, so they do not need to wait for you.
- “Automatically record meeting” is useful if you want to go back and listen to the completed meeting again.
4. Add to your Calendar
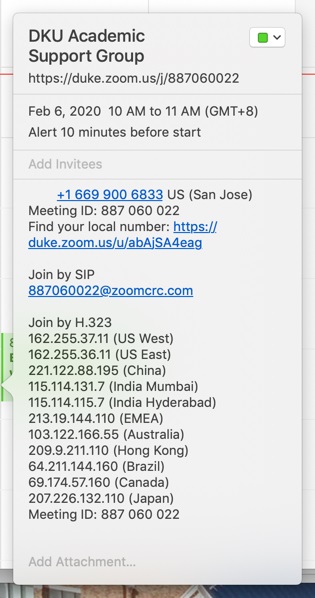
Once the meeting is scheduled, you can add the meeting to your calendar by selecting your preferred calendar.
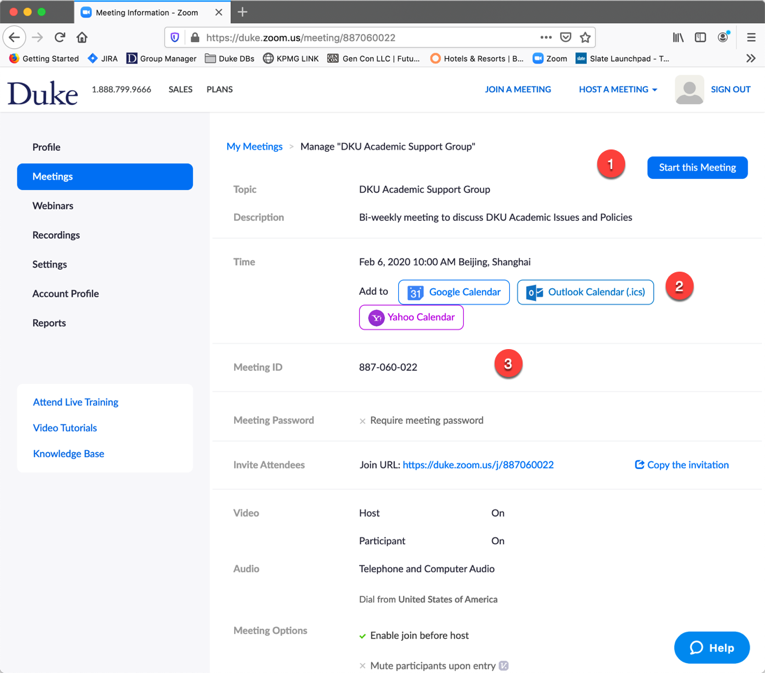
Once in your calendar, you can add invitees and send the invite. Note – if you make changes to dates and times of scheduled meetings, you will need to update the information in Zoom and also adjust on your calendar, including sending updates to attendees from your calendar.
Converting Zoom account to a Duke Zoom account
There may be situations where a user has an existing Zoom account. This may be a free account or it may be one associated with another organization. Those eligible to use Duke Zoom should follow this process to switch from a free Zoom account to a Duke Zoom account.
NOTE: These instructions are for switching from a free Zoom account to a Duke Zoom account. This process may also work for switching from another organization’s Zoom account to a Duke Zoom account but this has not been tested.
1) Go to https://duke.zoom.com and click the Access Zoom button.
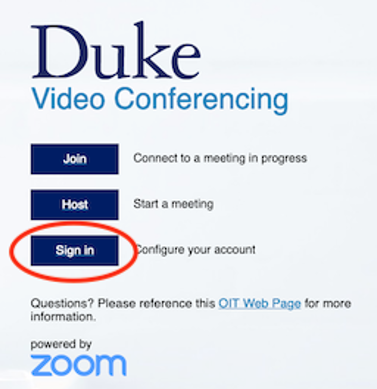
2) Click the Sign in button.
3) Complete the shibboleth authentication.
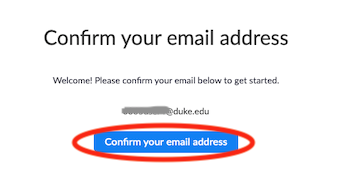
4) Users with an existing Zoom account will see the following screen. Click the button to confirm your email address.
IMPORTANT: do not proceed until you receive an email from Zoom with the confirmation link to your Duke email account.
5) You should see the following alert that a message has been sent to your “netid@duke.edu” address (eg. jdoe@duke.edu).
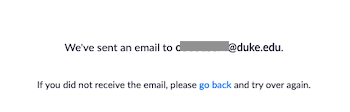
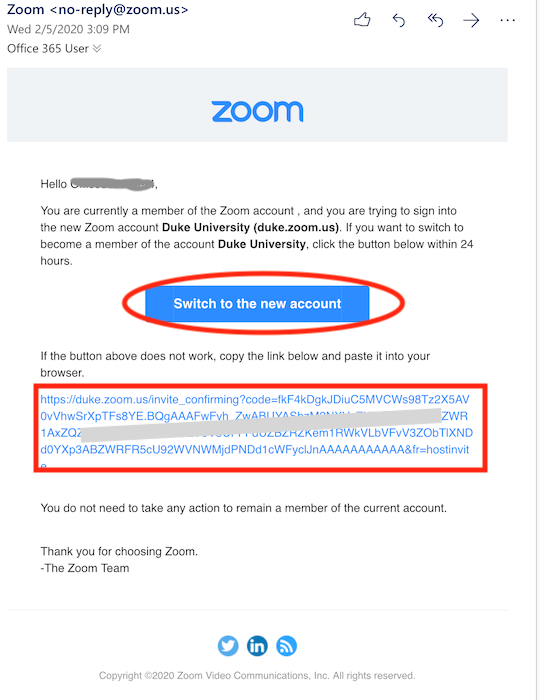
6) Check your email for the confirmation message, then click the button Switch to the new account or copy the URL and paste it into a web browser session.
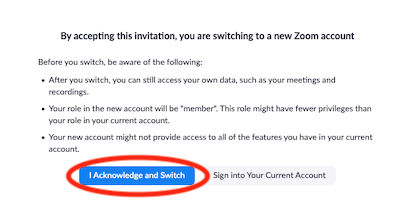
7) A new page appears listing what will happen after you switch your account. You must click the button I acknowledge and Switch in order to be added to Duke Zoom.
8) The next page notifies you that your account has been switched to the Duke University Zoom account. Click the Sign in to Profile Page to verify your settings.
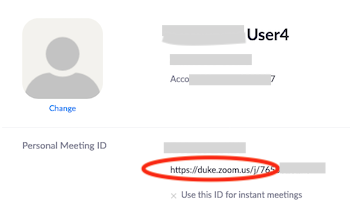
9) Make sure your personal meeting ID includes “duke.zoom.us”. If it does not, your account has not been switched.
Troubleshooting
If this process fails or hangs, try copying the full link as shown in the email message but use a private browser window or switch to a different browser.
If all else fails and you are trying to switch a free Zoom account, you may need to delete your existing free Zoom account. WARNING: you will lose all data including recordings and previous meeting information. Follow the directions here: https://support.zoom.us/hc/en-us/articles/201363243-How-Do-I-Delete-Terminate-My-Account-. Once the account is deleted, you can go to https://duke.zoom.com and try signing in to Zoom. Your account should be provisioned normally in Duke Zoom.
Special Tips for Instructors
1. Getting better performance of Zoom
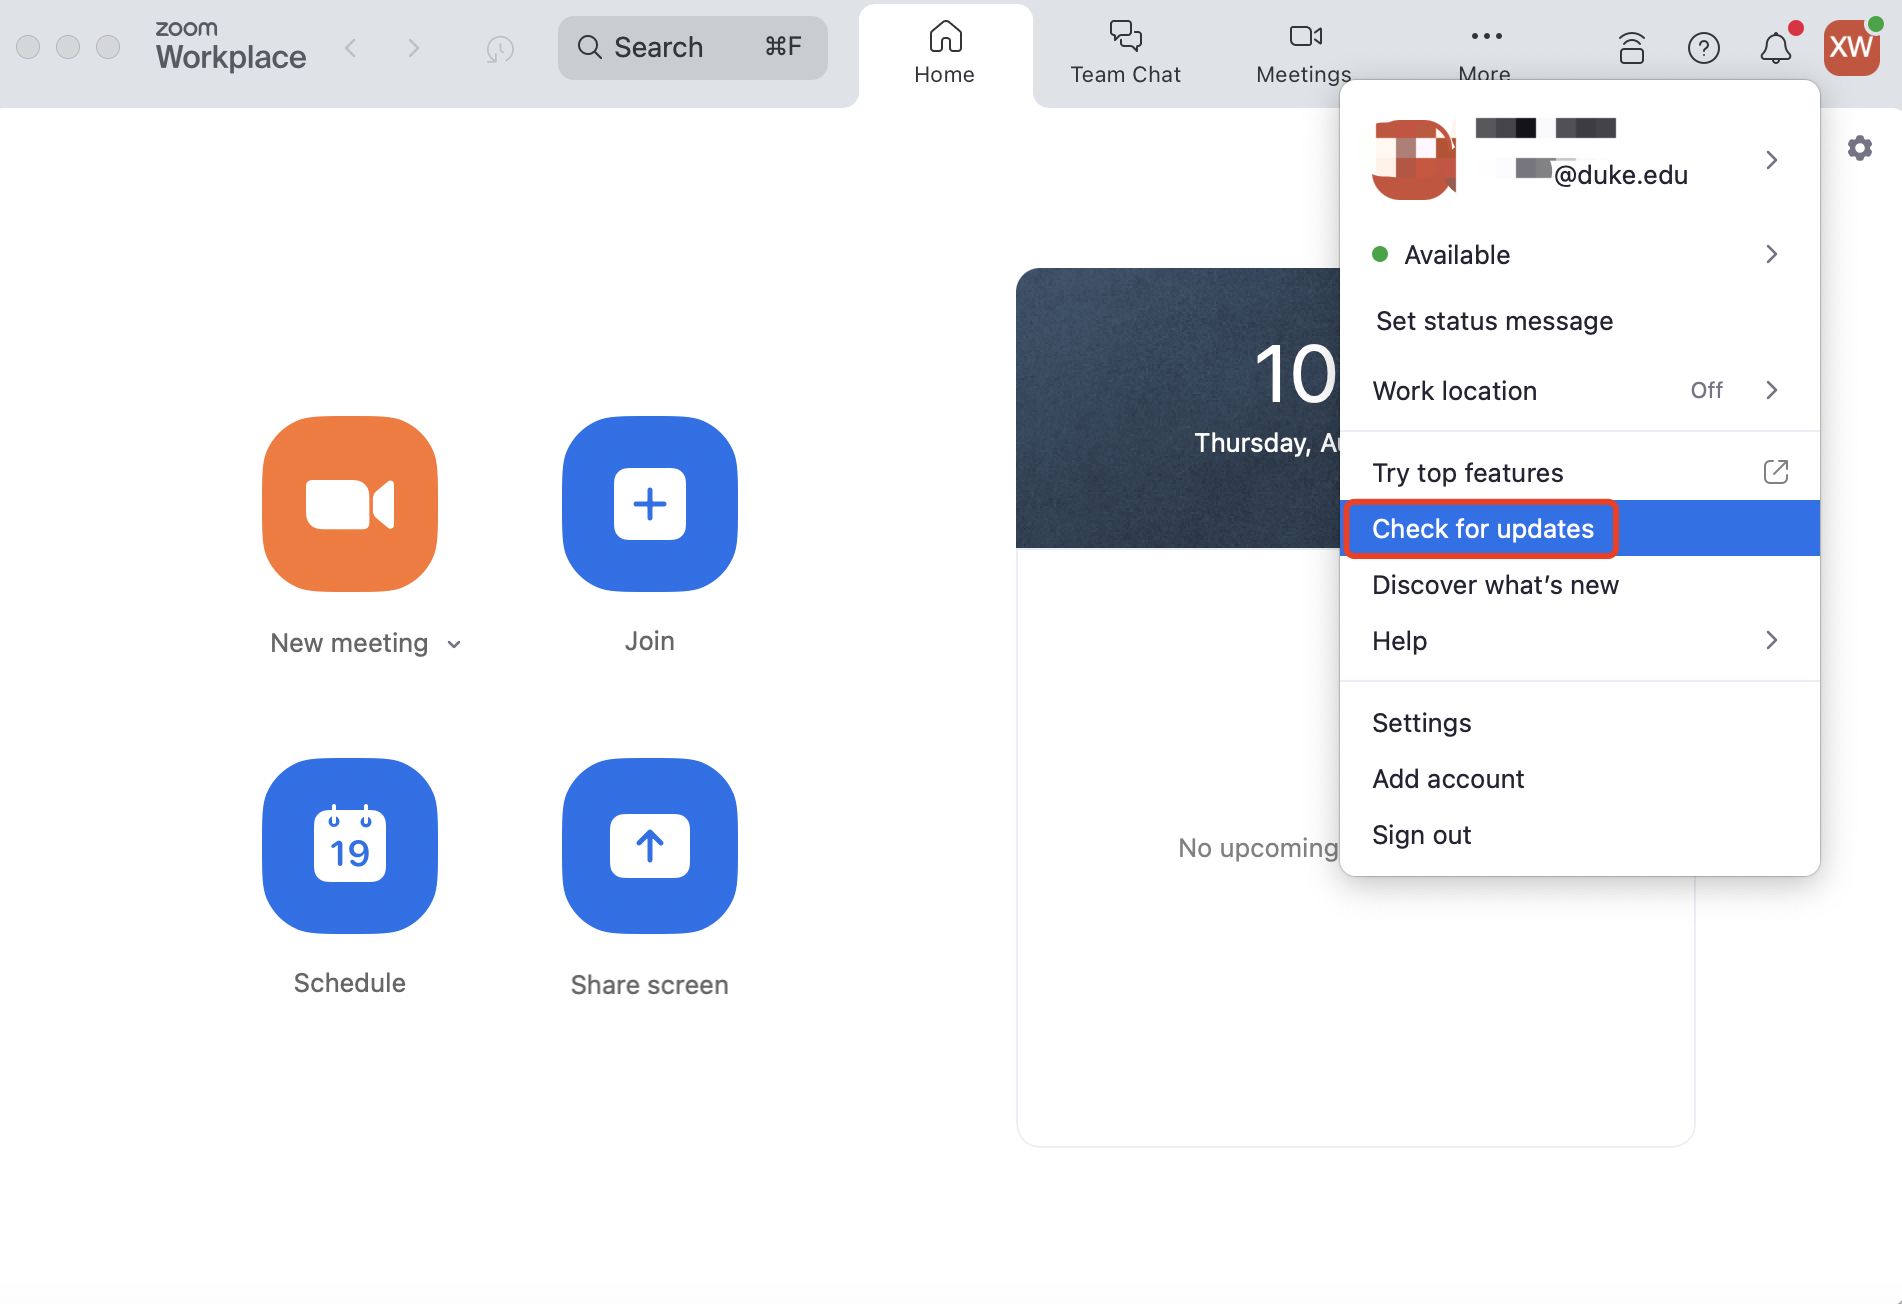
1) Check for update to the latest version for Zoom Meeting Client.
You may refer to this KB for more details:
https://support.zoom.com/hc/en/article?id=zm_kb&sysparm_article=KB0060716
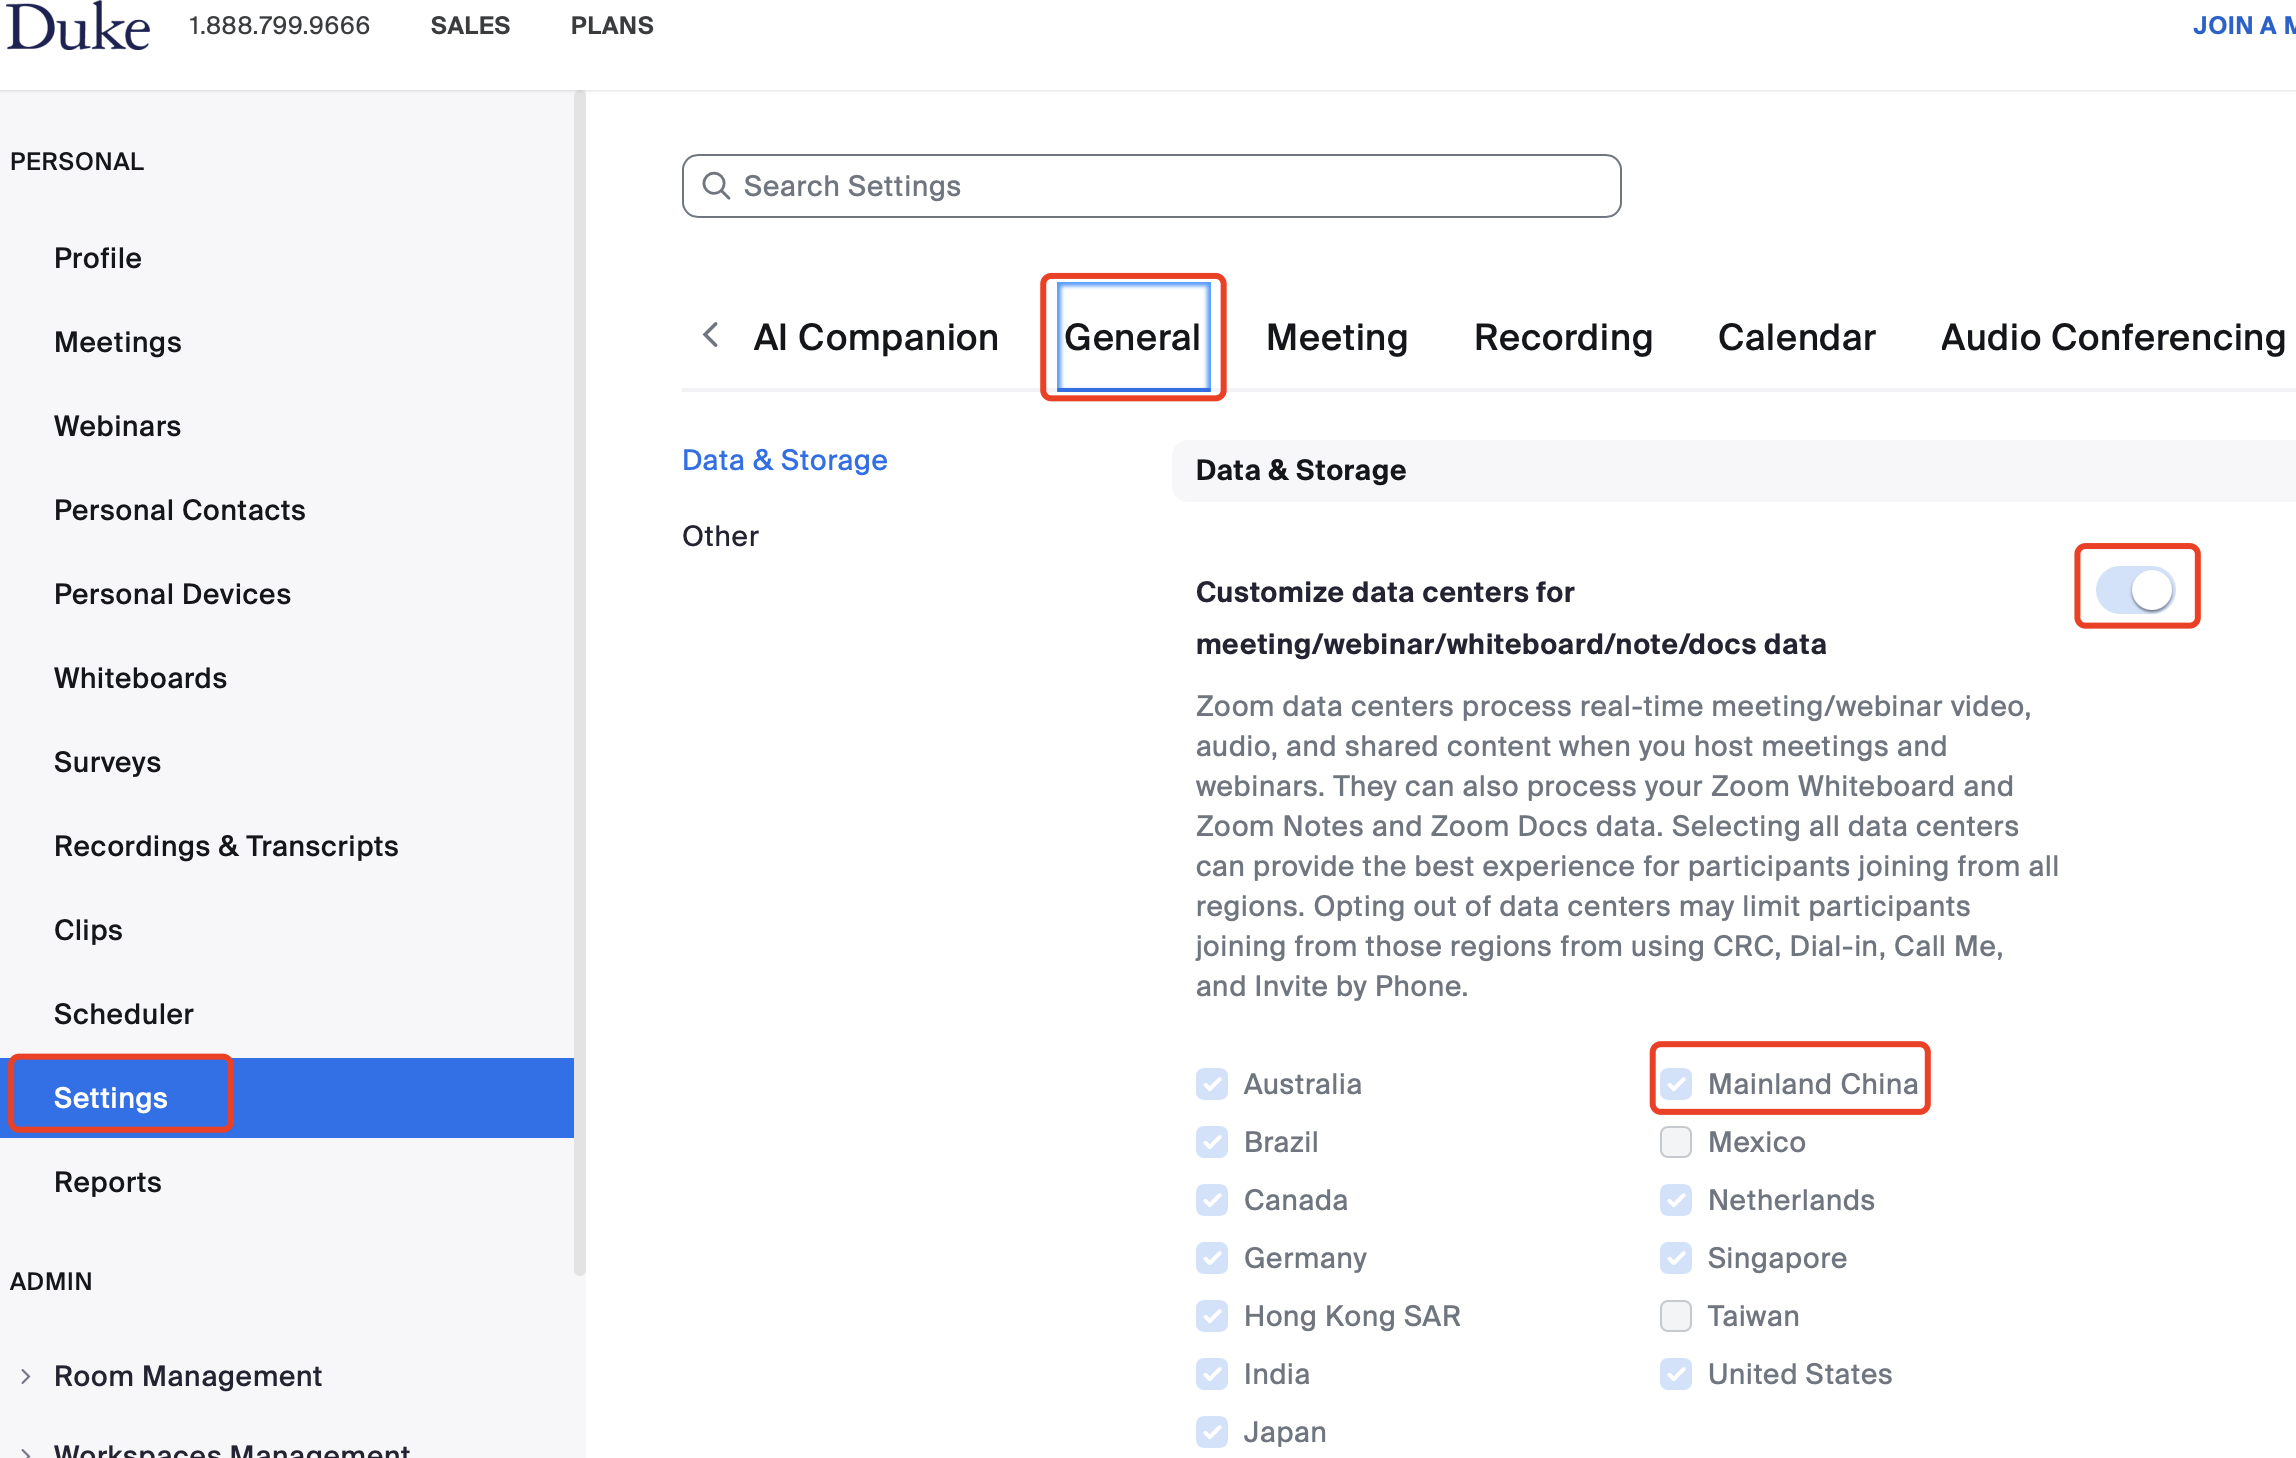
2) Turn on “Data Center regions” to check the country where you are located. For example: If you are located in China, please check “China” box as the US box is checked by default.
You may refer to this KB for more details:
https://support.zoom.com/hc/en/article?id=zm_kb&sysparm_article=KB0060026
3) When you share your screen, in order to play some videos/audio, please remember to check below two boxes to make sure other participants who joined this meeting could hear your computer sound and optimize your video clip.
FAQ
1. Fail to install Outlook plug-in
Example: One Mac user encountered a prompt-up says Microsoft prevents the configuration.
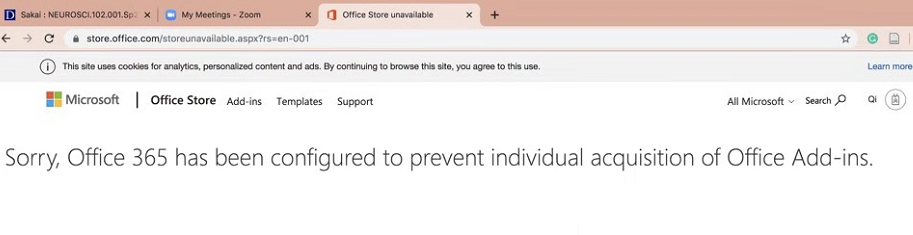
Try It: Download the outlook plug-in from Microsoft website: Please click Here.
2. It is always telling “switching the account”
Try It: Follow the steps in Converting Zoom account to a Duke Zoom account